

Ahhh, tile. How I love you. It’s not uncommon for me to start the design of a room with tile and then draw inspiration from it for the rest of the space. Because I design custom homes and I always want my clients to have a unique design that doesn’t look like every other home you see on Pinterest or Houzz, I’ve found that tile is a great way to make their space stand out in the crowd. So, today I’m letting you in and sharing my 10 favorites!
Now, I know what you’re thinking – yeah, but at what cost? The truth is, tile can get REALLY expensive, but with a little (or a lot) of creativity, you can create endless patterns and designs with simple tile that won’t break the bank. So, to get you inspired, here’s my 10 favorite tile patterns!
Tile Layout #1: Stripes with a Migraine

You know when you have a migraine, and everything is just a little more visually offset than usual? That’s what this laundry room floor reminds me of! By randomly combining three different colors of a simple 3x12 tile (we used this one ), we were able to make a really unique floor pattern that you won’t see anywhere else...except maybe your house now that you’re reading this! Here’s the diagram I gave my installer and asked him to install the colors randomly.

Tile Layout #2: Hearts and Stripes Forever

Penny tile has been around for decades, but have you seen it installed like this? In front of the vanity, we designed a black penny tile heart to be installed in the white penny tile floor. In the shower, we created a stripe border around the outside edge using the same black penny tile. What could have been a simple, boring floor became something really special for this girl’s ensuite bathroom. With something custom like this, you’ll want to make sure you have a very clear diagram for your tile installer. Penny tile is pretty labor intensive, so you don’t want to pay them to do it twice!

Tile Layout #3: Herringbone

There’s a difference between chevron and herringbone, so be careful not to confuse the two. Using a simple 3x12 tile, instead of installing it in a standard brick pattern or a straight set, we had it installed in a herringbone pattern. The key to making this successful is to do a contrasting grout so that pattern doesn’t disappear! Tile installers are pretty well-versed in herringbone patterns, so you may not need a diagram for this one, but you will want to make sure you’re on the same page with what direction you want the herringbone installed. Below is the diagram we provided our installer with.

Tile Layout #4: You Can Never Have Too Many Stripes

Are you beginning to see the pattern (pun intended) of taking simple, solid colored tiles and creating something beautiful out of them? This space is no exception. I used the same tile collection as the striped laundry room, but this time I used a combination of 4x12 and 6x12 tiles to create the varied width stripes. With patterns like this, it’s especially important to provide the tile installer with a tile diagram so he/she can see exactly what you’re looking for.

Tile Layout #5: Mad for Plaid

This might be my favorite hallway ever. What could have been a very boring, long pass-through became a stunning design feature in this home. By simply using three different colors of 18x18 tile (I used this one), I created an over-sized plaid pattern on a 45* angle. I’m not sure I’ll ever stop loving this. With this layout, make sure your installer centers it appropriately in the space. See how the black squares are perfectly centered on the stairs?

Tile Layout #6: Hex Mix

Hexagon tile is ‘all the rage’ right now, but I didn’t want this floor to look like everyone else’s. So, I used three different colors and had the tile installer install them in a random fashion. I love the fun pattern it creates, and it pairs beautifully with the linearness (is that a word? I’m making it a word.) of the floor-to-ceiling wood tile wall. I decided to stick to the solid colors of this tile, but you should see all the fun patterns it comes in!
Tile Layout #7: Don’t Ride the Subway
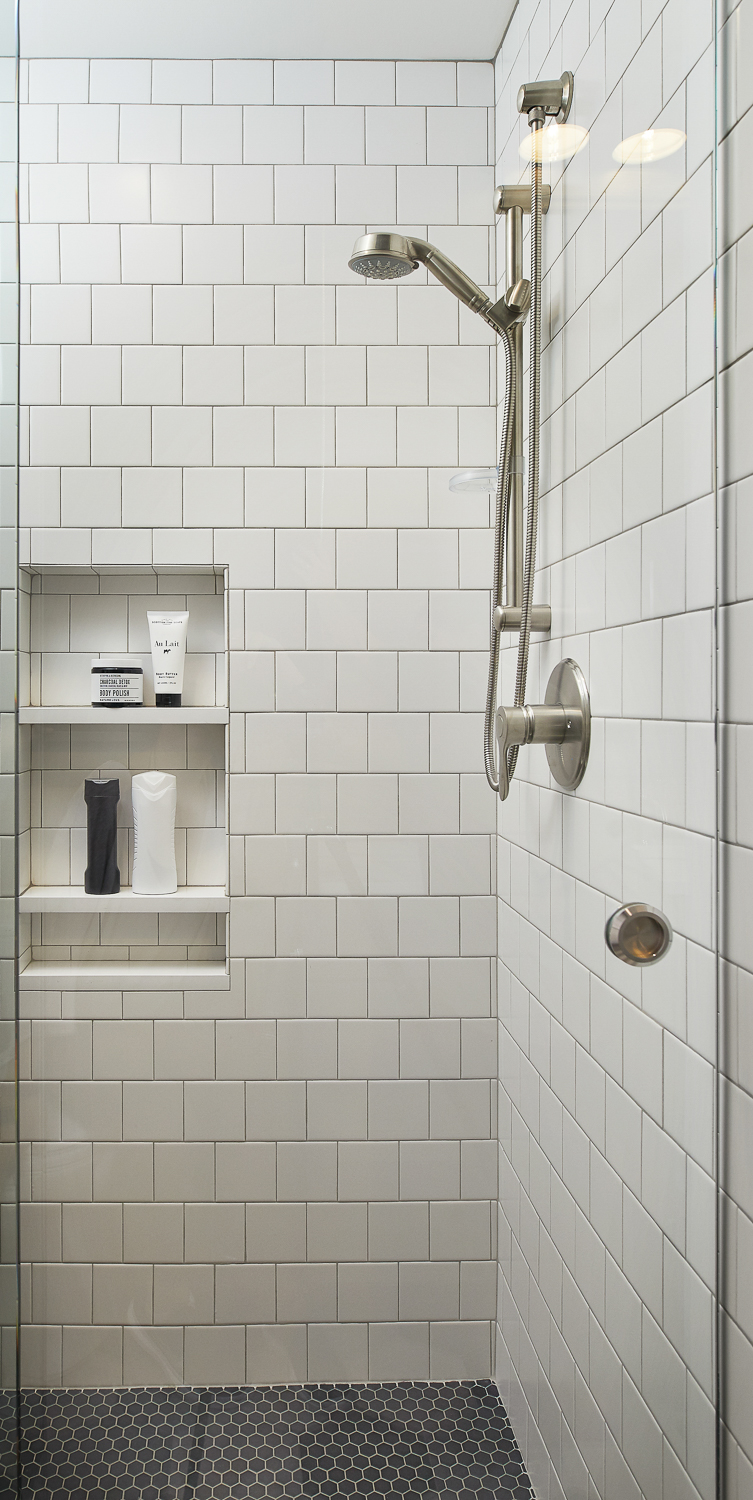
Don’t get me wrong – I’ve used subway tile again, and again, and again. But – if you’re trying to create a unique look that’s different from all of your friends’ houses, subway tile is not the way to go. Traditionally, subway tile is a 3”x6” tile that is stacked like bricks. This shower is in the same bathroom as the hexagon tile from layout #6, so I didn’t want to go too crazy with the pattern, but I also wanted it to be something unique. So – instead of doing a standard subway pattern, I did a 4x4 square tile installed in a brick pattern. Despite its simplicity, this is a pretty unique look/proportion for this pattern, and super easy to achieve. You could even do this with a square tile that comes in different colors and create a really fun pattern!
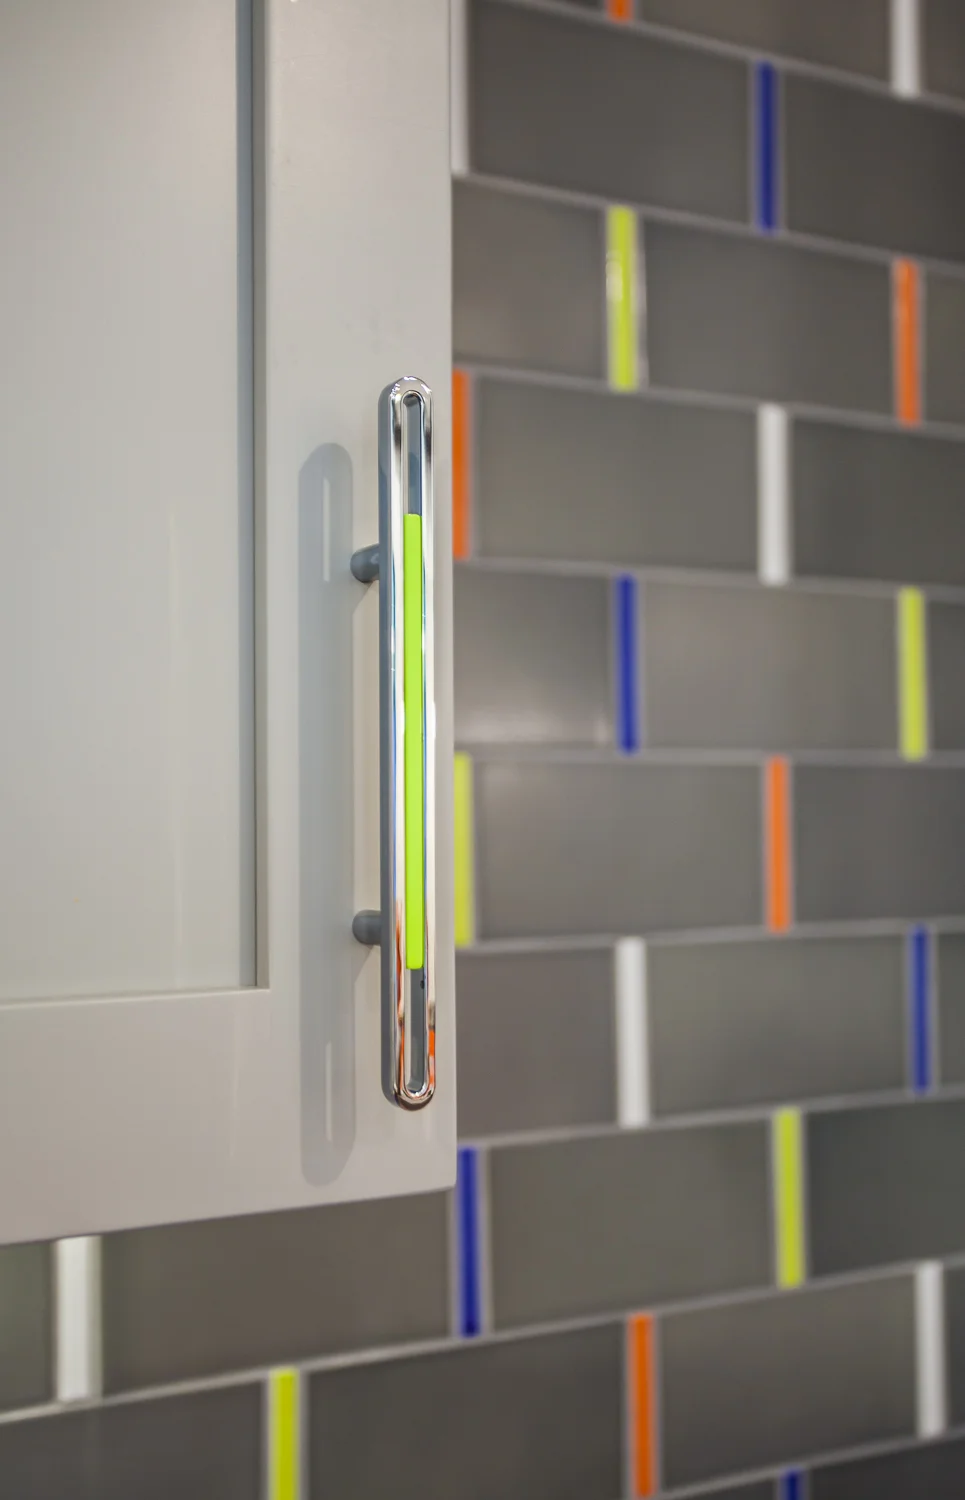
Tile Layout #8: Rainbow Sticks

Okay, I’ll admit - out of all of the tiles I’m showing you today, this tile is a splurge. These handmade ceramic tiles from Pratt and Larson come in a million color options which means the patterns and layouts are endless, and it’s such beautiful tile that it’s worth the splurge. Here, I combined a standard 4”x8” gray subway tile with accent ½”x4” tile bars in 4 different accent colors. Oh, what a fun backsplash this was for a kid’s media room! Pratt and Larson has tons of shapes and colors, so just think of all the patterns you could create!

Tile Layout #9: Go Big And Go Home

A majority of the tile layouts I’ve shown you so far have used smaller scale tile. There’s nothing wrong with using larger format tiles, and that doesn’t mean you can’t still create a unique pattern or layout. In this bathroom, I loved this multicolored slate tile, but instead of just using one size, I combined 12x24 pieces and 6x24 pieces in a linear pattern to create a custom, varied height striped effect. I was a little nervous to leave this one up to the tile installer, so I did an elevation of the wall to show where each size tile would go. Taking the extra step to diagram this layout ensured that it was perfect, and it took the pressure off the installer to interpret what we were looking for.

Tile Layout #10: Bathroom Rug

This bathroom was in an old Georgian home we renovated, and we were trying to maintain some of the historical characteristics while introducing some modern details. We created the illusion of a rug on the floor using an oversized honeycomb tile and a dark tile liner around the edge. When combining tile like this, always make sure your tiles are the same thickness or that your tile installer is aware of the thickness differences, so he can account for that accordingly.
All of the tiles in this post can be found at your local Virginia Tile shop. This isn’t a sponsored post - I just love working with Virginia Tile; they have great customer service and very knowledgable staff.