
Looking for that ever so popular rustic look but don’t know how or where to get genuine reclaimed boards? We were able to build a reclaimed wood fireplace surround for under $100! (Note: This blog post contains affiliate links to the products we used and loved)
Here’s how we did it!
Since we have 8’-0” high ceilings, we knew we were going to be around 19 boards high. We then took the width of the fireplace and the depth and added them up (to equal 83”) in order to calculate how much wood we needed to get. Piece of cake, right?
We bought our material from Home Depot, and decided to do a 1 x 6 (nominal) tongue and groove board. Typically these are used on ceilings, but we liked the tongue and groove feature because our walls weren’t perfectly square and we knew it would keep everything nice and tight together.

After we got our boards home, the fun part was next – BEATING THEM UP! We took chains, screws, drills, and anything else we could find to really ding them up. The goal was to make them look like they stood up to years of abuse on a factory floor.
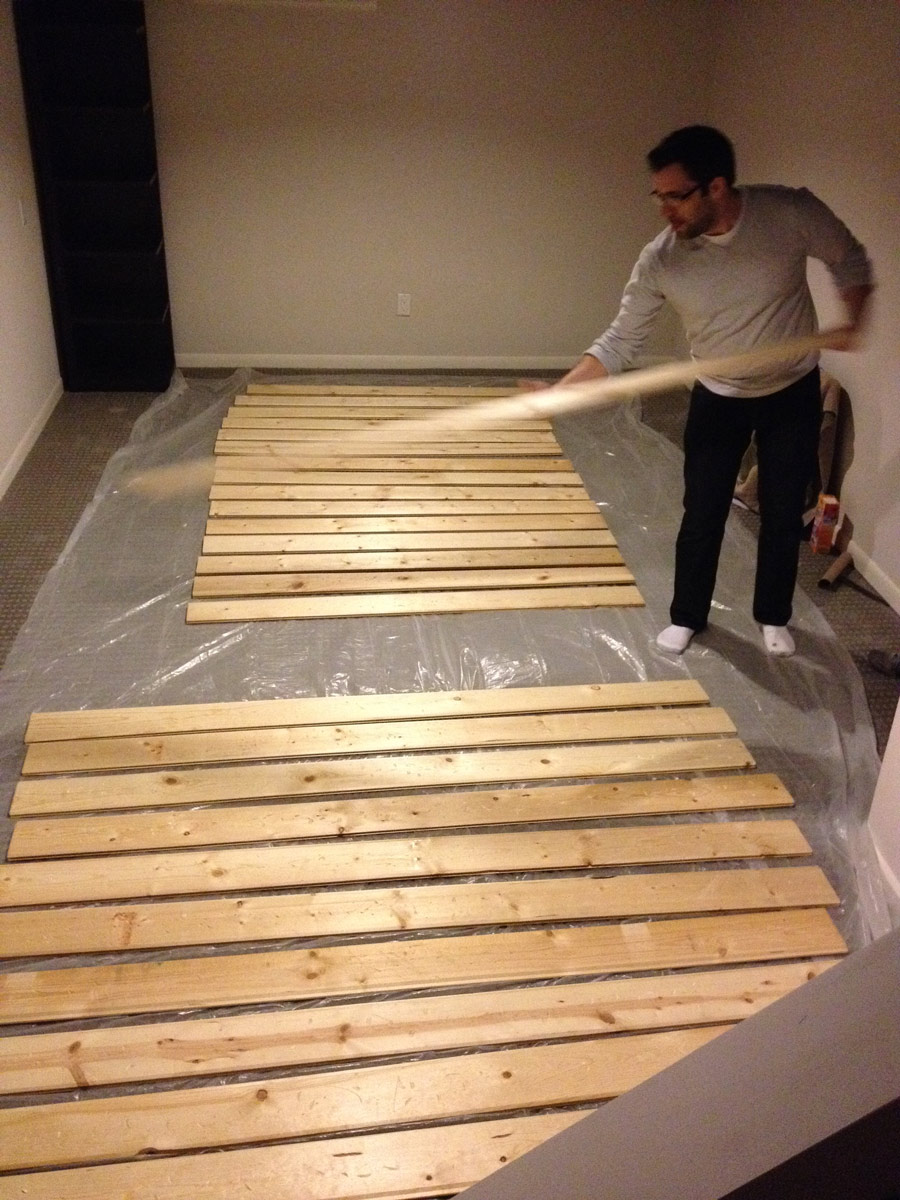
Then, we used a combination of three stains to get the right mixture of lights, darks, oranges and browns:
For the longest time, I was so intimidated by the idea of staining, but it’s practically fool proof! We just stroked on some black and then some brown wherever we pleased, let them sit for about 10 minutes, and then wiped it off with a clean rag. I wanted some boards to be slightly different in coloration than others, so I liked the contrast the ebony gave to the special walnut.

We let all the boards dry overnight, and then next day (while I went shopping), Justin measured all the boards and cut them. He used mitered joints to give nice clean look.
Once all the boards were cut, we started with the front and hung all the boards from the ceiling to the floor. See how excited we were after our first board? I assure you that enthusiasm was not as prominent after the 50th board (did I mention how much easier this would have been with a nail gun?)
Edit: We have since acquired a Ryobi nail gun, and LOVE IT! This project would have been 3X as fast if we had this.

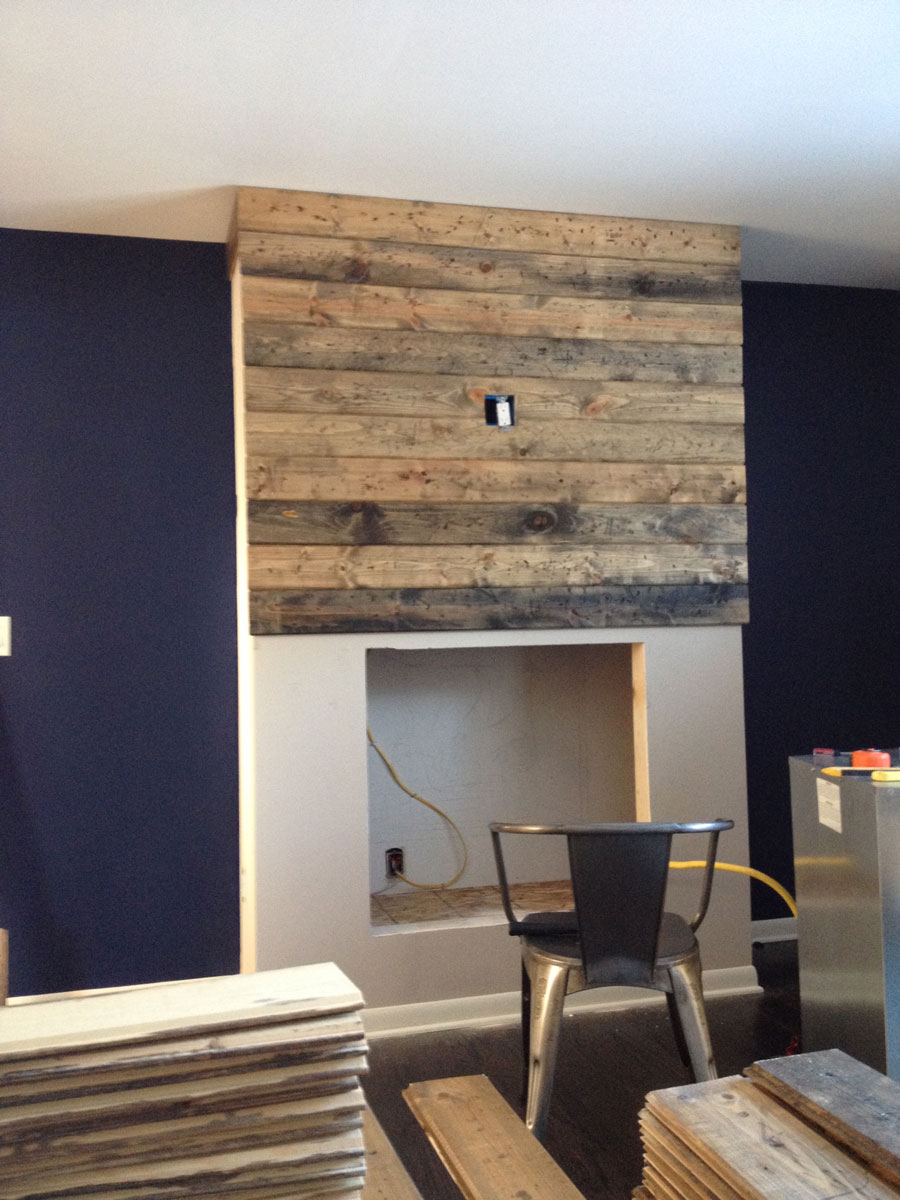
So, we hung the boards by putting construction adhesive on the back of each one and then Justin used 5 finishing nails equally spaced across the front. The beauty of having wood that is so beat up is that you can’t tell where the nails are. Here you can see how it was coming together halfway through.

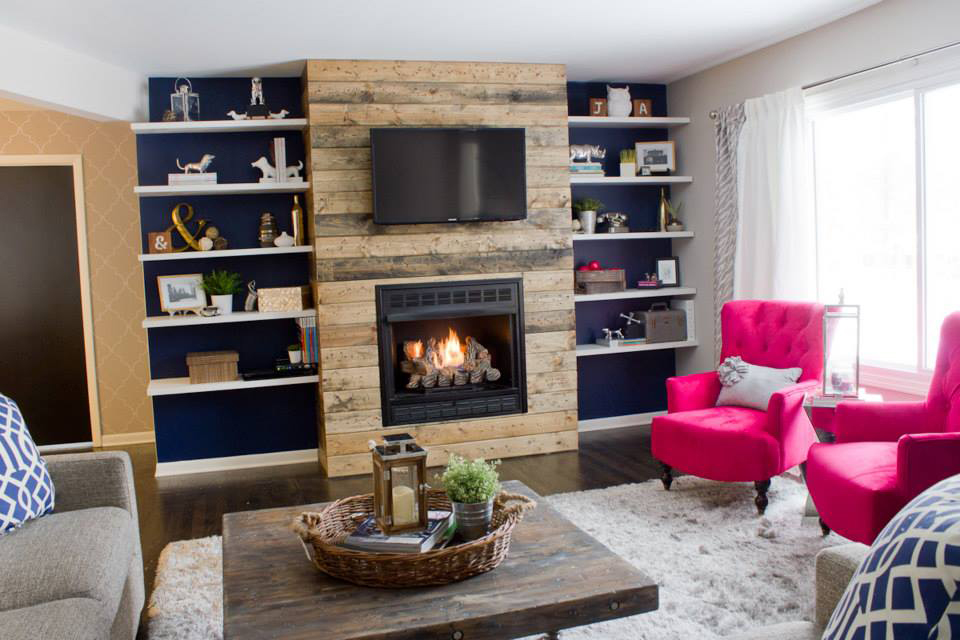
It’s been about 6 months since we did this DIY, and we have been more than thrilled with how it turned out! We get lots of compliments on it from everyone who visits our home, and can’t believe it cost less than $100 to do!
If you have any questions about details we may have left out, please don’t hesitate to ask!